この記事ではWebアプリケーションフレームワークのFlaskを使用した、通知機能を紹介します。
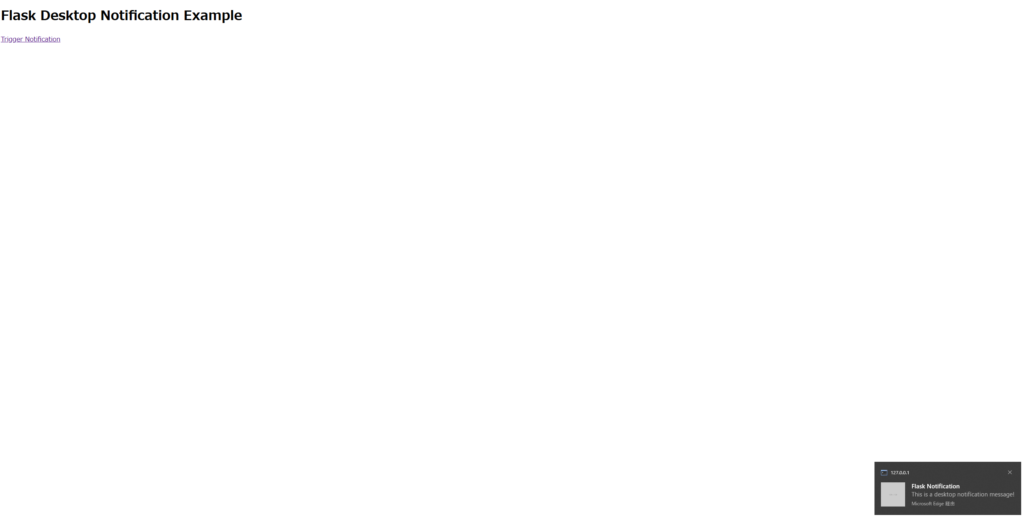
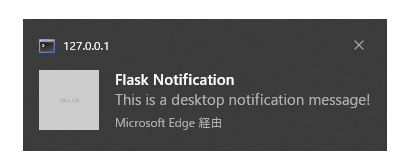
今回は画像のようなデスクトップ通知機能を作成します。
Flaskのインストールや基本的な使い方は以下の記事で紹介していますので、まだの方はご覧ください。
あわせて読みたい

【初心者向けWebサイト開発】FlaskでWebページを作成してみよう
この記事ではWebアプリケーションフレームワークのFlaskを使用して、簡単なWebページを作成する方法を紹介します。 FlaskはPython用のフレームワークのため、事前にPyth…
目次
通知機能の作り方
はじめに、今回作成するアプリケーションは、以下のディレクトリ構成になっています。
my_flask_app/
├── app.py
└── templates/
    └── index.html
STEP
HTML(templates/index.html)の編集
<!doctype html>
<html lang="en">
  <head>
    <meta charset="UTF-8">
    <title>Notification Example</title>
  </head>
  <body>
    <h1>Flask Desktop Notification Example</h1>
    <a href="{{ url_for('notify') }}">Trigger Notification</a>

    {% with messages = get_flashed_messages() %}
      {% if messages %}
        <script>
          // 通知を要求する関数
          function requestNotificationPermission() {
            if (Notification.permission === "granted") {
              showNotification();
            } else if (Notification.permission !== "denied") {
              Notification.requestPermission().then(permission => {
                if (permission === "granted") {
                  showNotification();
                }
              });
            }
          }

          // 通知を表示する関数
          function showNotification() {
            {% for message in messages %}
              new Notification("Flask Notification", {
                body: "{{ message }}",
                icon: "https://via.placeholder.com/128"
              });
            {% endfor %}
          }

          // ページが読み込まれたときに通知を要求
          document.addEventListener('DOMContentLoaded', (event) => {
            requestNotificationPermission();
          });
        </script>
      {% endif %}
    {% endwith %}
  </body>
</html>
<!doctype html>
<html lang="en">
<head>
<meta charset="UTF-8">
<title>Notification Example</title>
</head>
<body>HTML5のドキュメントタイプと文字セットを設定し、ページタイトルを指定します。
<h1>Flask Desktop Notification Example</h1>
<a href="{{ url_for('notify') }}">Trigger Notification</a>
ページの見出しと通知をトリガーするリンクを追加します。
{% with messages = get_flashed_messages() %}
  {% if messages %}
    <script>
      ...
    </script>
  {% endif %}
{% endwith %}get_flashed_messages関数を使ってフラッシュメッセージを取得し、JavaScriptコード内で使用します。
function requestNotificationPermission() {
  if (Notification.permission === "granted") {
    showNotification();
  } else if (Notification.permission !== "denied") {
    Notification.requestPermission().then(permission => {
      if (permission === "granted") {
        showNotification();
      }
    });
  }
}
ブラウザが通知の権限を持っているか確認し、権限がない場合はユーザーに許可を求めます。
function showNotification() {
  {% for message in messages %}
    new Notification("Flask Notification", {
      body: "{{ message }}",
      icon: "https://via.placeholder.com/128"
    });
  {% endfor %}
}
フラッシュメッセージを使って通知を表示します。
document.addEventListener('DOMContentLoaded', (event) => {
  requestNotificationPermission();
});
ページが読み込まれたときに通知の権限を要求します。
STEP
app.pyの編集
from flask import Flask, render_template, redirect, url_for, flash

app = Flask(__name__)
app.secret_key = 'your_secret_key'  # 任意の秘密鍵

@app.route('/')
def index():
    return render_template('index.html')

@app.route('/notify')
def notify():
    flash('This is a desktop notification message!')
    return redirect(url_for('index'))

if __name__ == '__main__':
    app.run(debug=True)
from flask import Flask, render_template, redirect, url_for, flash
app = Flask(__name__)必要なFlaskモジュールをインポートし、アプリケーションインスタンスを作成します。
app.secret_key = 'your_secret_key'フラッシュメッセージの使用に必要な秘密鍵を設定します。これはセッションデータの暗号化に使われます。
@app.route('/')
def index():
return render_template('index.html')メインページ(/)のルートを定義し、index.htmlテンプレートをレンダリングします。
@app.route('/notify')
def notify():
    flash('This is a desktop notification message!')
return redirect(url_for('index'))/notifyルートを定義し、フラッシュメッセージを設定してからメインページにリダイレクトします。
if __name__ == '__main__':
    app.run(debug=True)
アプリケーションをデバッグモードで実行します。
実行結果
実行すると、以下のホーム画面が表示されます。
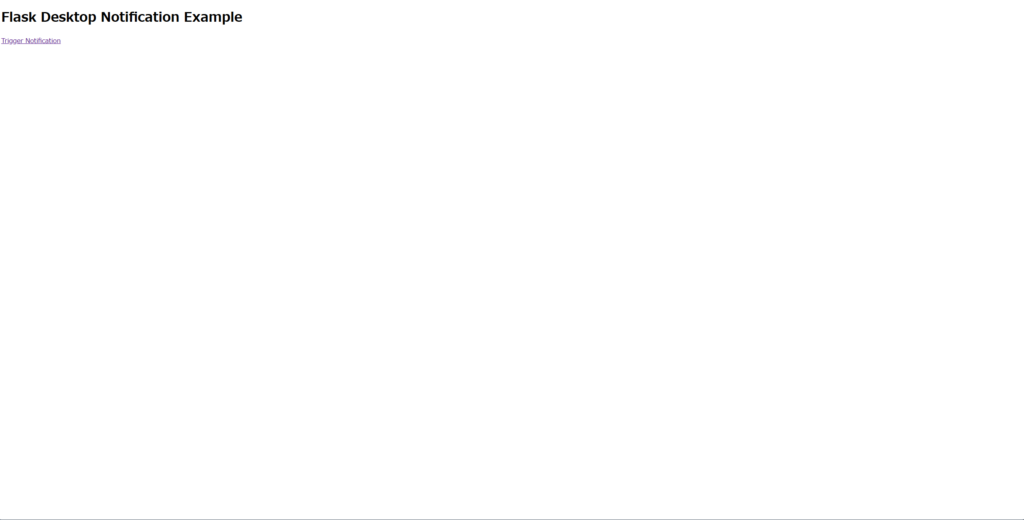
「Trigger Notification」をクリックすると以下のようにデスクトップ通知が飛びます。